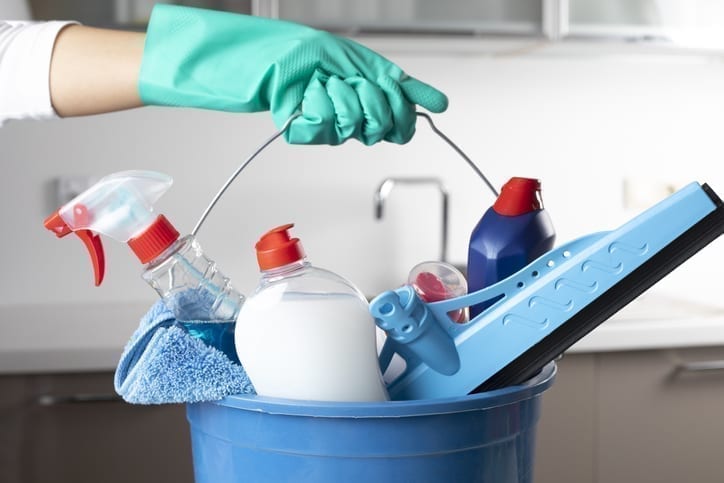
With the first few days of spring finally upon us, now is the time to give the main parts of your home a good once over. From chucking out unwanted things to sprucing up furniture, there’s something about spring that signals a new start, and there’s nothing quite as satisfying as putting your feet up after a proper tidy up.
If you’ve let things become a bit cluttered over the past few months, then don’t fret, our guide to spring cleaning made easy is here to help. With hints, tips and advice to keep the busiest parts of the home tidy and well-organised, use this as a handy how-to next time you need to give things a refresh.
Make a schedule
Before you break out the sprays, mops and vacuum cleaners, it’s a good idea to scope out your home first to see which areas need the most attention. Additionally, which areas do you tend to skip during your routine cleaning? It doesn’t matter where you start, but having some sort of a plan in place when tackling each room will help to keep you focused.
Plus, you can keep referring back to the schedule every couple of months, allowing you to plan ahead without the need to keep scoping out each room every time.

Out with the old
Again, before you start dusting and hoovering, take care of any of the clutter that’s been collecting over the winter. Staying organised is the name of the game here, and holding on to any odd knick-knacks and bric-a-brac is counterproductive. And what’s more, studies have shown that clutter can have negative effects on the mind; a messy home signals to the brain that work isn’t done, adding to your stress levels.
What’s important here is to be as thorough and honest with yourself as possible. If you’re looking through your wardrobes, then take a look at anything you haven’t worn in a year. If the chances of you wearing it again are slim, then throw it out. Same goes for books you haven’t read or CDs you don’t listen to anymore. Be brutal and chuck them out.
Don’t forget to look through that designated odds and ends drawer, too. You’d be surprised by what you’ve accumulated in there and even more surprised by the fact you held onto things for so long.

Senior man is helping his wife with the housework. He is using an extended feather duster to clean the ceiling and his wife is pointing out areas he has missed.
Work from top to the bottom
Ok, so with your schedule sorted and assorted clutter consigned to the rubbish, it’s time to start with the spring cleaning proper. A good rule of thumb is to start from the ceiling down when cleaning, as this forces debris downward and keeps you from having to re-dust or re-vacuum your space afterwards. If your vacuum cleaner has an extension hose, use it to get cobwebs and dust from your ceilings and fans first. Similarly, dust your furniture and other items before vacuuming all the dust and debris off your floors to save you time here, too.
Clean carpets and upholstery
Speaking of furniture, fabrics in your home will have absorbed all sorts of dirt and germs over the past few months, and will need a proper cleaning to get them looking presentable.
Shampooing carpets can be a bit tricky, but if you’re serious about cleaning, then consider giving it a go. When you’re using carpet shampoo, it might be worth practising first in an unobtrusive area first.
When you start the process properly, just move the furniture slightly rather than out of the room or against the wall. Once you’re done, place the legs of each piece of furniture on small card squares after shampooing. The card protects your carpet and keeps the furniture legs from getting wet as the carpet dries. Make sure you open the windows to speed up the drying process as it can sometimes take a day or more.

Walls and windows need attention too
Walls and windows may get lost in the shuffle of spring cleaning, so it’s important to give them the proper care and attention when it’s time. With regards to your walls specifically, while they may not look like they need cleaning, just enough dust and dirt clings to vertical surfaces to warrant a seasonal once over. Take a sponge and some washing up liquid to wash the surface of your walls, washing surfaces in sections.
A sponge mop comes in useful to reach higher spots, and be sure to use two buckets – one for the washing up liquid and another for wringing your sponge. Afterwards, dry the walls and woodwork with a clean cloth.
With regards to your windows, make sure to clean both inside and out for optimal cleanliness, too.

Finish up the floors
Rather than heading to the shops, there is a super simple mixture you can make at home to clean your hard floors. This mixture is strong enough to lift most stains but won’t damage hardwood, vinyl, laminate and porcelain floors, and is made up of items most homes have in their cupboards. Mix the following:
½ cup water
½ cup washing up liquid
1 2/3 cups baking soda
2tbsp white vinegar
Pour this mixture into a clean spray bottle, spray on a small section of flooring and mop off. Then rinse through with clean water and leave to dry – easy!
With spring underway, we hope you’ve found this article useful. Looking for further cleaning tips and recipe ideas? Check out the new Oven Pride blog or visit our homepage to learn more about our unique oven-cleaning formula.


